cobalt
how to protect your cobalt instance
if you keep getting a ton of unknown traffic that hurts the performance of your instance, then it might be a good idea to enable bot protection.
[!NOTE] this tutorial will work reliably on the latest official version of cobalt 10. we can’t promise full compatibility with anything else.
configure cloudflare turnstile
turnstile is a free, safe, and privacy-respecting alternative to captcha. cobalt uses it automatically to weed out bots and automated scripts. your instance doesn’t have to be proxied by cloudflare to use turnstile. all you need is a free cloudflare account to get started.
cloudflare dashboard interface might change over time, but basics should stay the same.
[!WARNING] never share the turnstile secret key, always keep it private. if accidentally exposed, rotate it in widget settings.
-
open the cloudflare dashboard and log into your account
-
once logged in, select
Turnstilein the sidebar
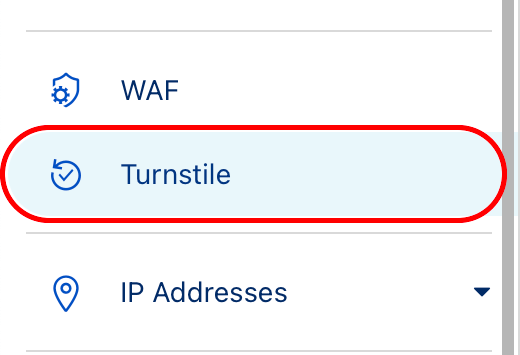
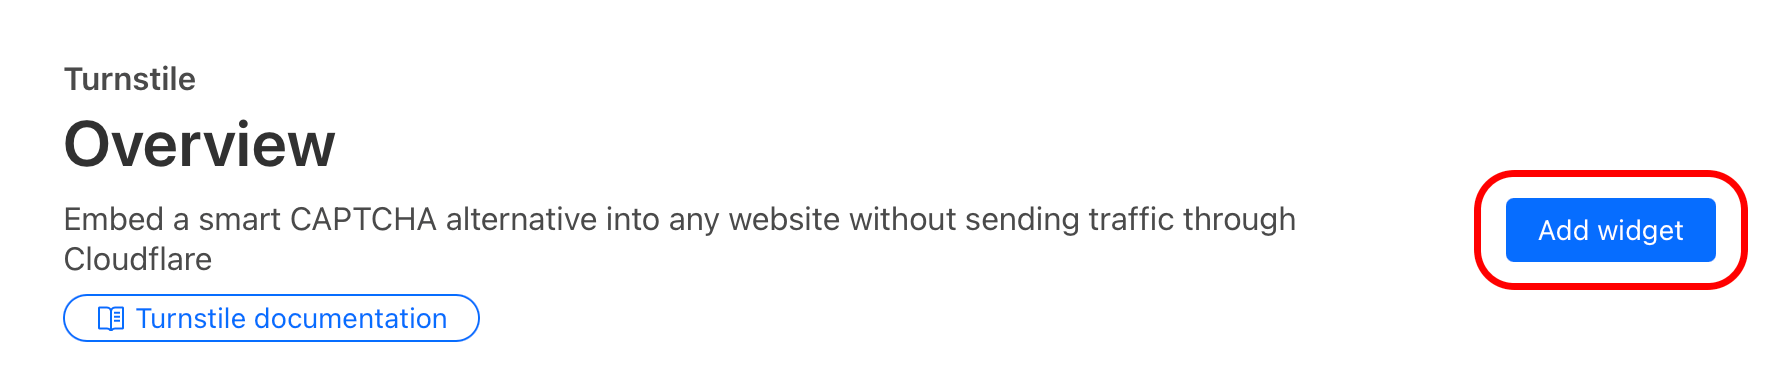
- press
Add widget
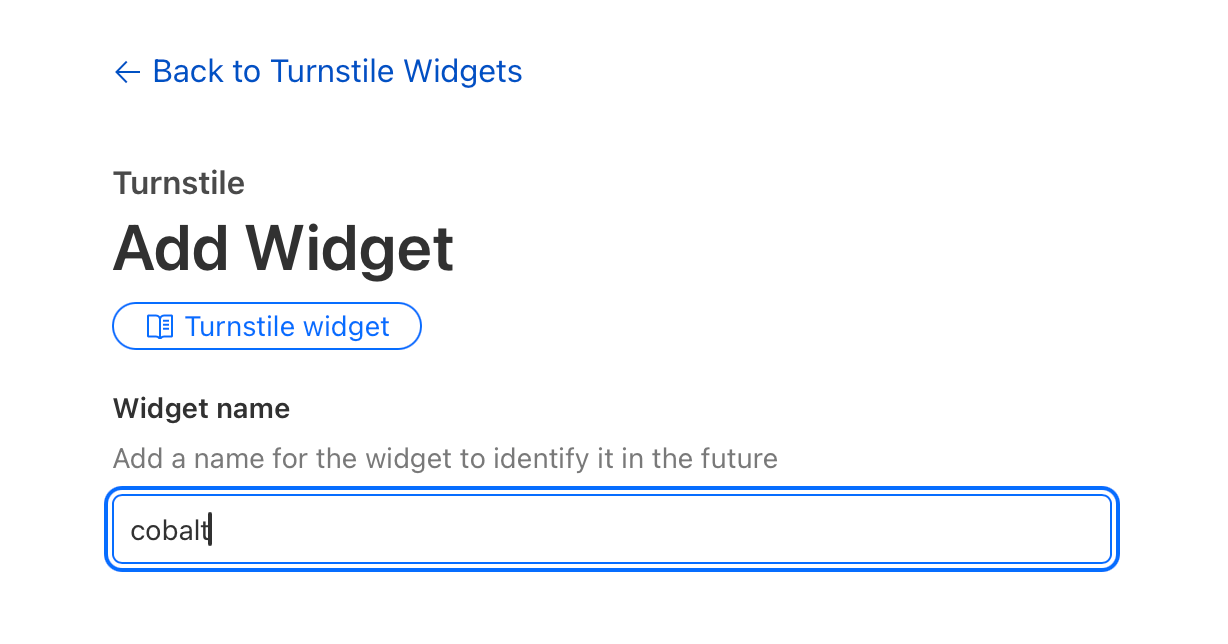
- enter the widget name (can be anything, such as “cobalt”)
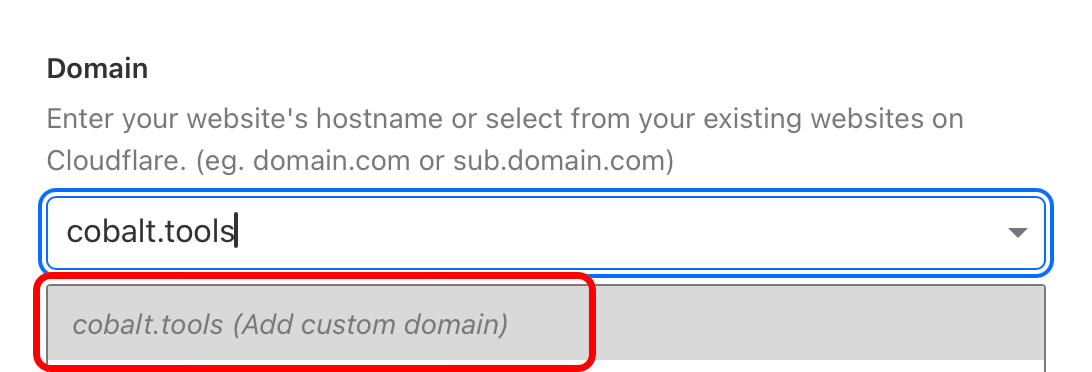
- add cobalt frontend domains you want the widget to work with, you can change this list later at any time
- if you want to use your processing instance with cobalt.tools frontend, then add
cobalt.toolsto the list
- if you want to use your processing instance with cobalt.tools frontend, then add
- select
invisiblewidget mode
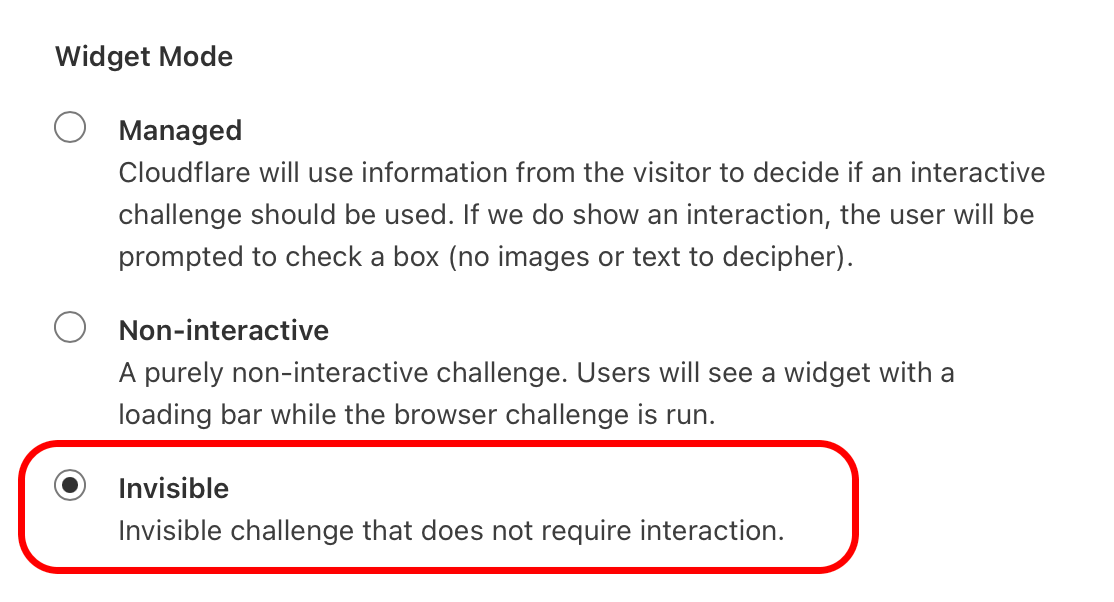
-
press
create -
keep the page with sitekey and secret key open, you’ll need them later. if you closed it, no worries! just open the same turnstile page and press “settings” on your freshly made turnstile widget.
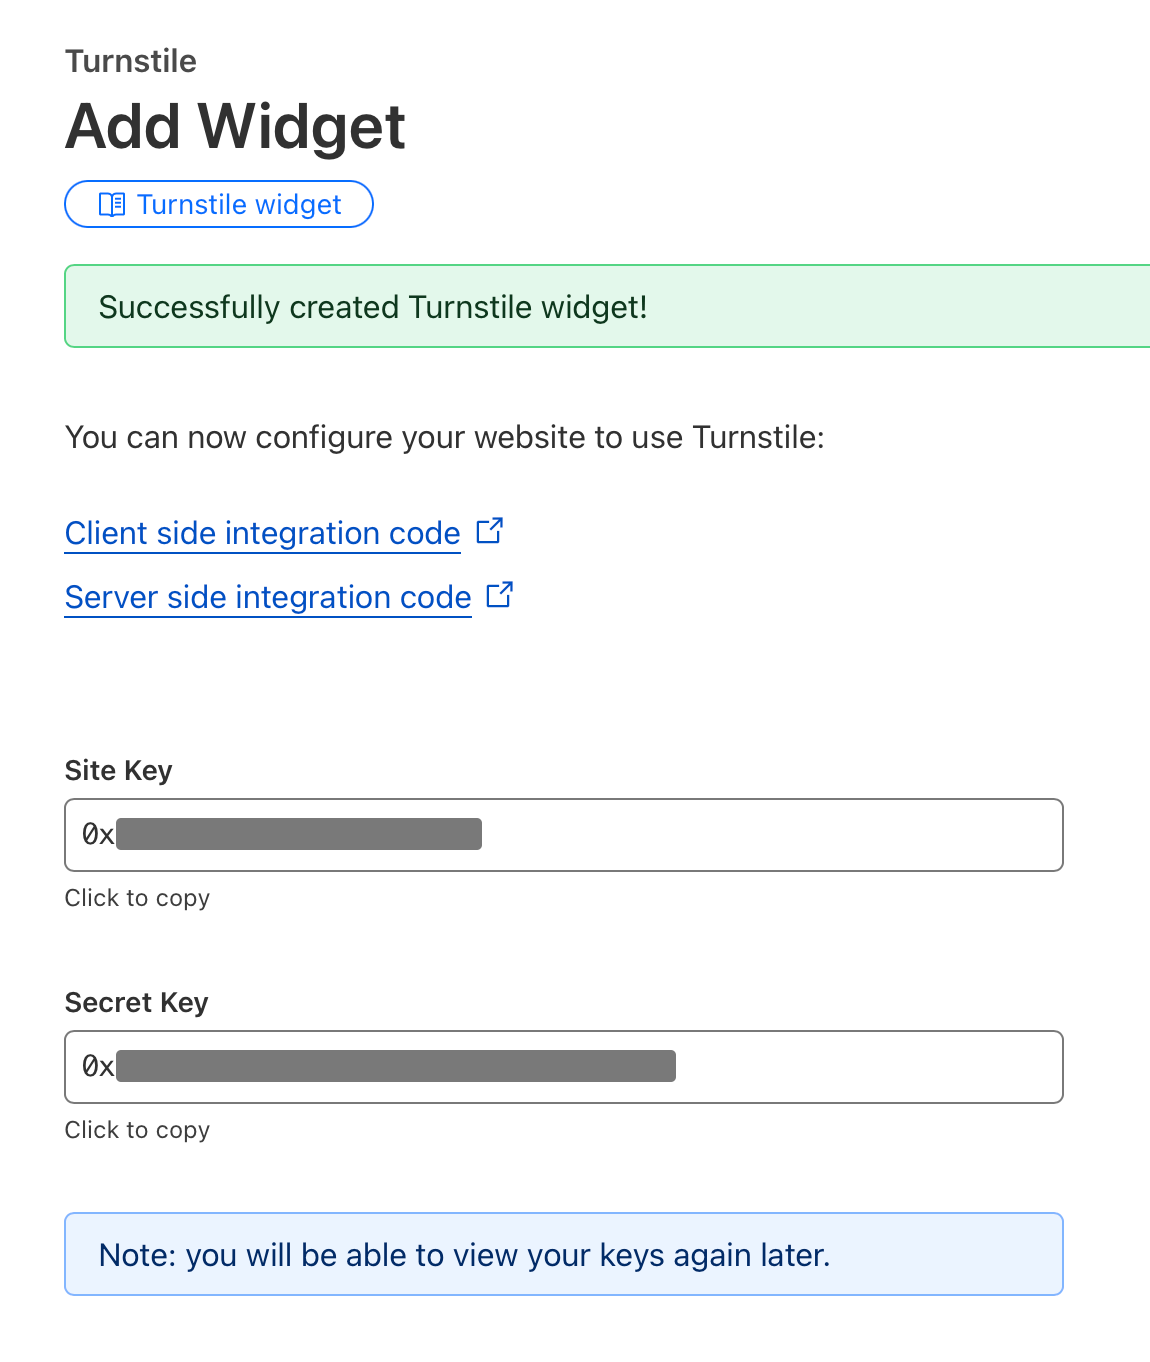
you’ve successfully created a turnstile widget! time to add it to your processing instance.
enable turnstile on your processing instance
this tutorial assumes that you only have API_URL in your environment variables list.
if you have other variables there, just add new ones after existing ones.
[!CAUTION] never use any values from the tutorial, especially
JWT_SECRET!
- open your
docker-compose.ymlconfig file in any text editor of choice. - copy the turnstile sitekey & secret key and paste them to their respective variables.
TURNSTILE_SITEKEYfor the sitekey andTURNSTILE_SECRETfor the secret key:environment: API_URL: "https://your.instance.url.here.local/" TURNSTILE_SITEKEY: "2x00000000000000000000BB" # use your key TURNSTILE_SECRET: "2x0000000000000000000000000000000AA" # use your key -
generate a
JWT_SECRET. we recommend using an alphanumeric collection with a length of at least 64 characters. this string will be used as salt for all JWT keys.you can generate a random secret with
pnpm -r token:jwtor use any other that you like.
environment:
 API_URL: "https://your.instance.url.here.local/"
 TURNSTILE_SITEKEY: "2x00000000000000000000BB" # use your key
 TURNSTILE_SECRET: "2x0000000000000000000000000000000AA" # use your key
JWT_SECRET: "bgBmF4efNCKPirD" # create a new secret, NEVER use this one
- restart the docker container.
configure api keys
if you want to use your instance outside of web interface, you’ll need an api key!
[!NOTE] this tutorial assumes that you’ll keep your keys file locally, on the instance server. if you wish to upload your file to a remote location, replace the value for
API_KEYS_URLwith a direct url to the file and skip the second step.
[!WARNING] when storing keys file remotely, make sure that it’s not publicly accessible and that link to it is either authenticated (via query) or impossible to guess.
if api keys leak, you’ll have to update/remove all UUIDs to revoke them.
-
create a
keys.jsonfile following the schema and example here. - expose the
keys.jsonto the docker container: ```yml volumes:- ./keys.json:/keys.json:ro # ro - read-only ```
- add a path to the keys file to container environment:
environment: # ... other variables here ... API_KEY_URL: "file:///keys.json" - restart the docker container.
limit access to an instance with api keys but no turnstile
by default, api keys are additional, meaning that they’re not required, but work alongside with turnstile or no auth (regular ip hash rate limiting).
to always require auth (via keys or turnstile, if configured), set API_AUTH_REQUIRED to 1:
environment:
    # ... other variables here ...
    API_AUTH_REQUIRED: 1
- if both keys and turnstile are enabled, then nothing will change.
- if only keys are configured, then all requests without a valid api key will be refused.
why not make keys exclusive by default?
keys may be useful for going around rate limiting, while keeping the rest of api rate limited, with no turnstile in place.